Print-on-Demand Personalization: The Complete Guide
Learn how print-on-demand personalization works, how to connect fulfillment providers, and how orders flow from customer to delivery.
Print-on-Demand Personalization: The Complete Guide
Print-on-demand can reduce the inventory a merchant holds because a provider produces an item after it is ordered. Adding personalization means the artwork or product configuration may differ for each order.
This guide explains how personalization works in a print-on-demand workflow, what happens behind the scenes when a customer places an order, and how to set everything up in Composerie.
What Is Print-on-Demand Personalization?
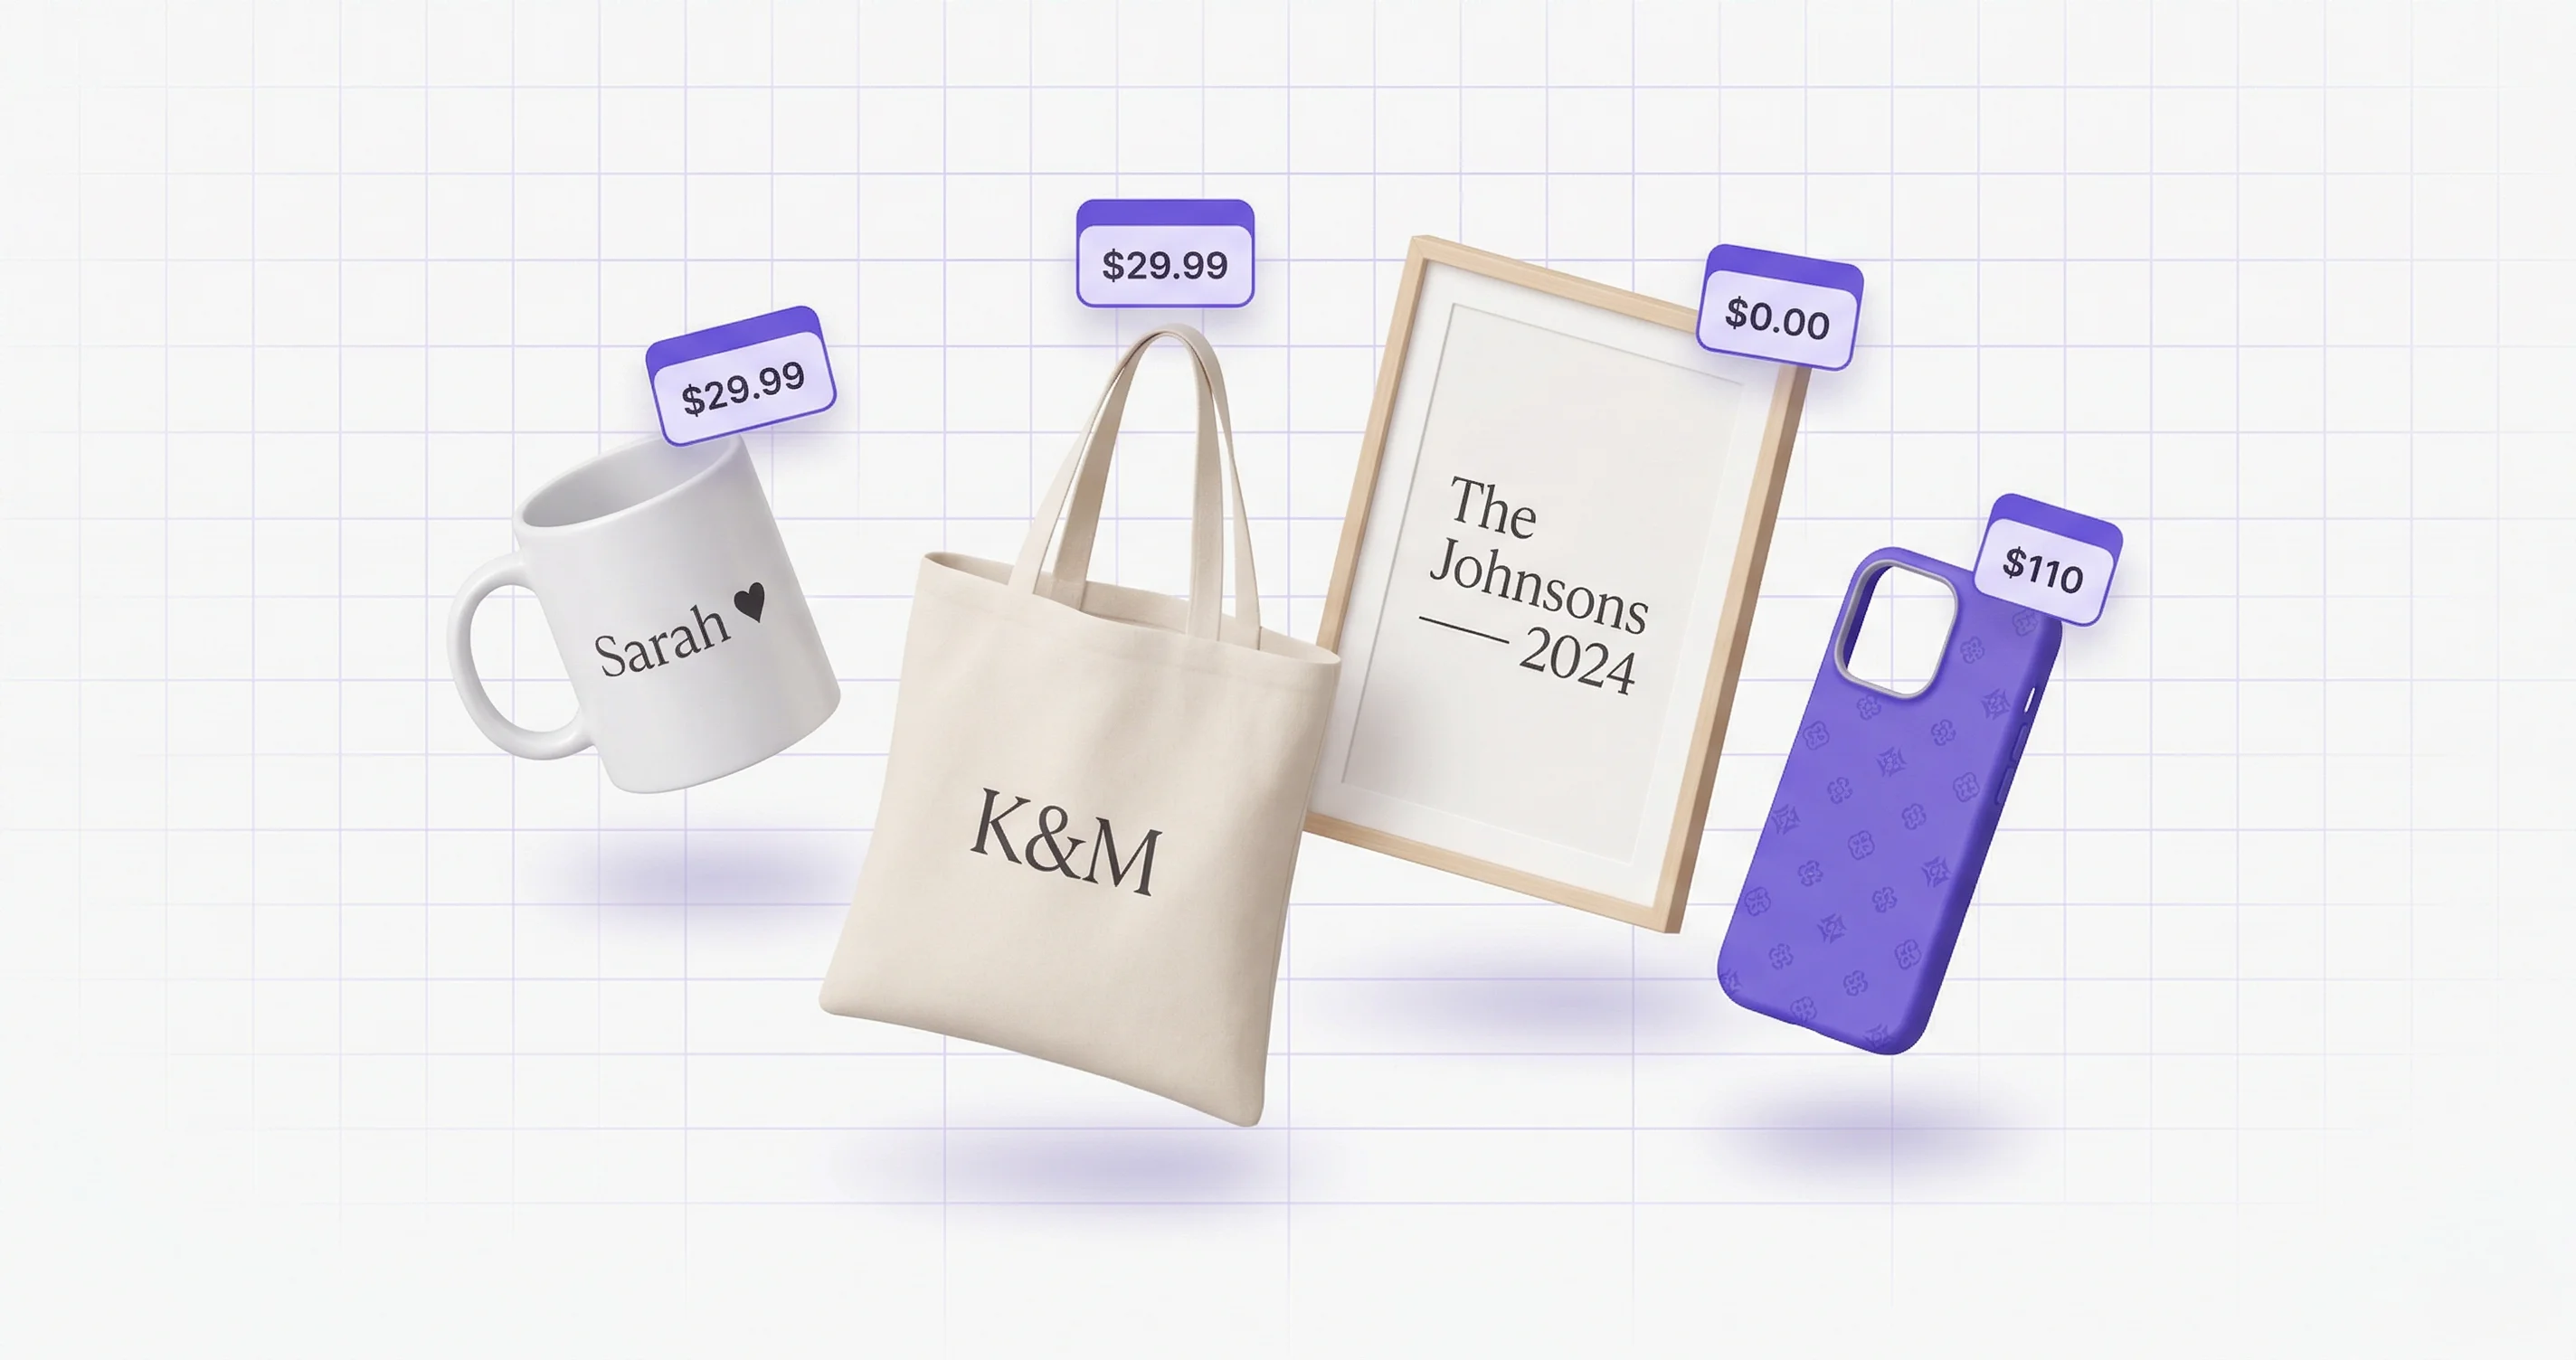
Standard print-on-demand (POD) lets you sell products — mugs, t-shirts, phone cases, posters — without holding inventory. A print provider manufactures each item after a customer orders it.
Personalization takes this further. Instead of selling a fixed design, you let customers modify the product before ordering. They might add their name to a mug, upload a family photo for a canvas print, or choose custom colors for a phone case. Before production, the merchant verifies the personalized design file against the provider’s current requirements.
Merchants evaluating this workflow should consider:
- Provider capabilities — Supported products, print areas, file formats, and shipping services differ by provider
- Output checks — Verify the generated file against the provider’s current production requirements
- Customer expectations — Explain proofing, production, shipping, and return terms before checkout
How Fulfillment Providers Work
A fulfillment provider (or print provider) is the company that actually manufactures and ships your products. In a personalized POD workflow, the provider needs to handle unique artwork for every single order.
The Provider’s Role
When an order comes in, the provider receives:
- An artwork file — The finalized design with the customer’s personalization applied at the configured dimensions and resolution
- Product specifications — Which base product, size, color, and variant to use
- Shipping details — The customer’s delivery address and chosen shipping method
The provider’s own service terms determine production and shipping. When a supported provider connection returns shipment details, Composerie can record those details for the merchant to review.
Supported Providers in Composerie
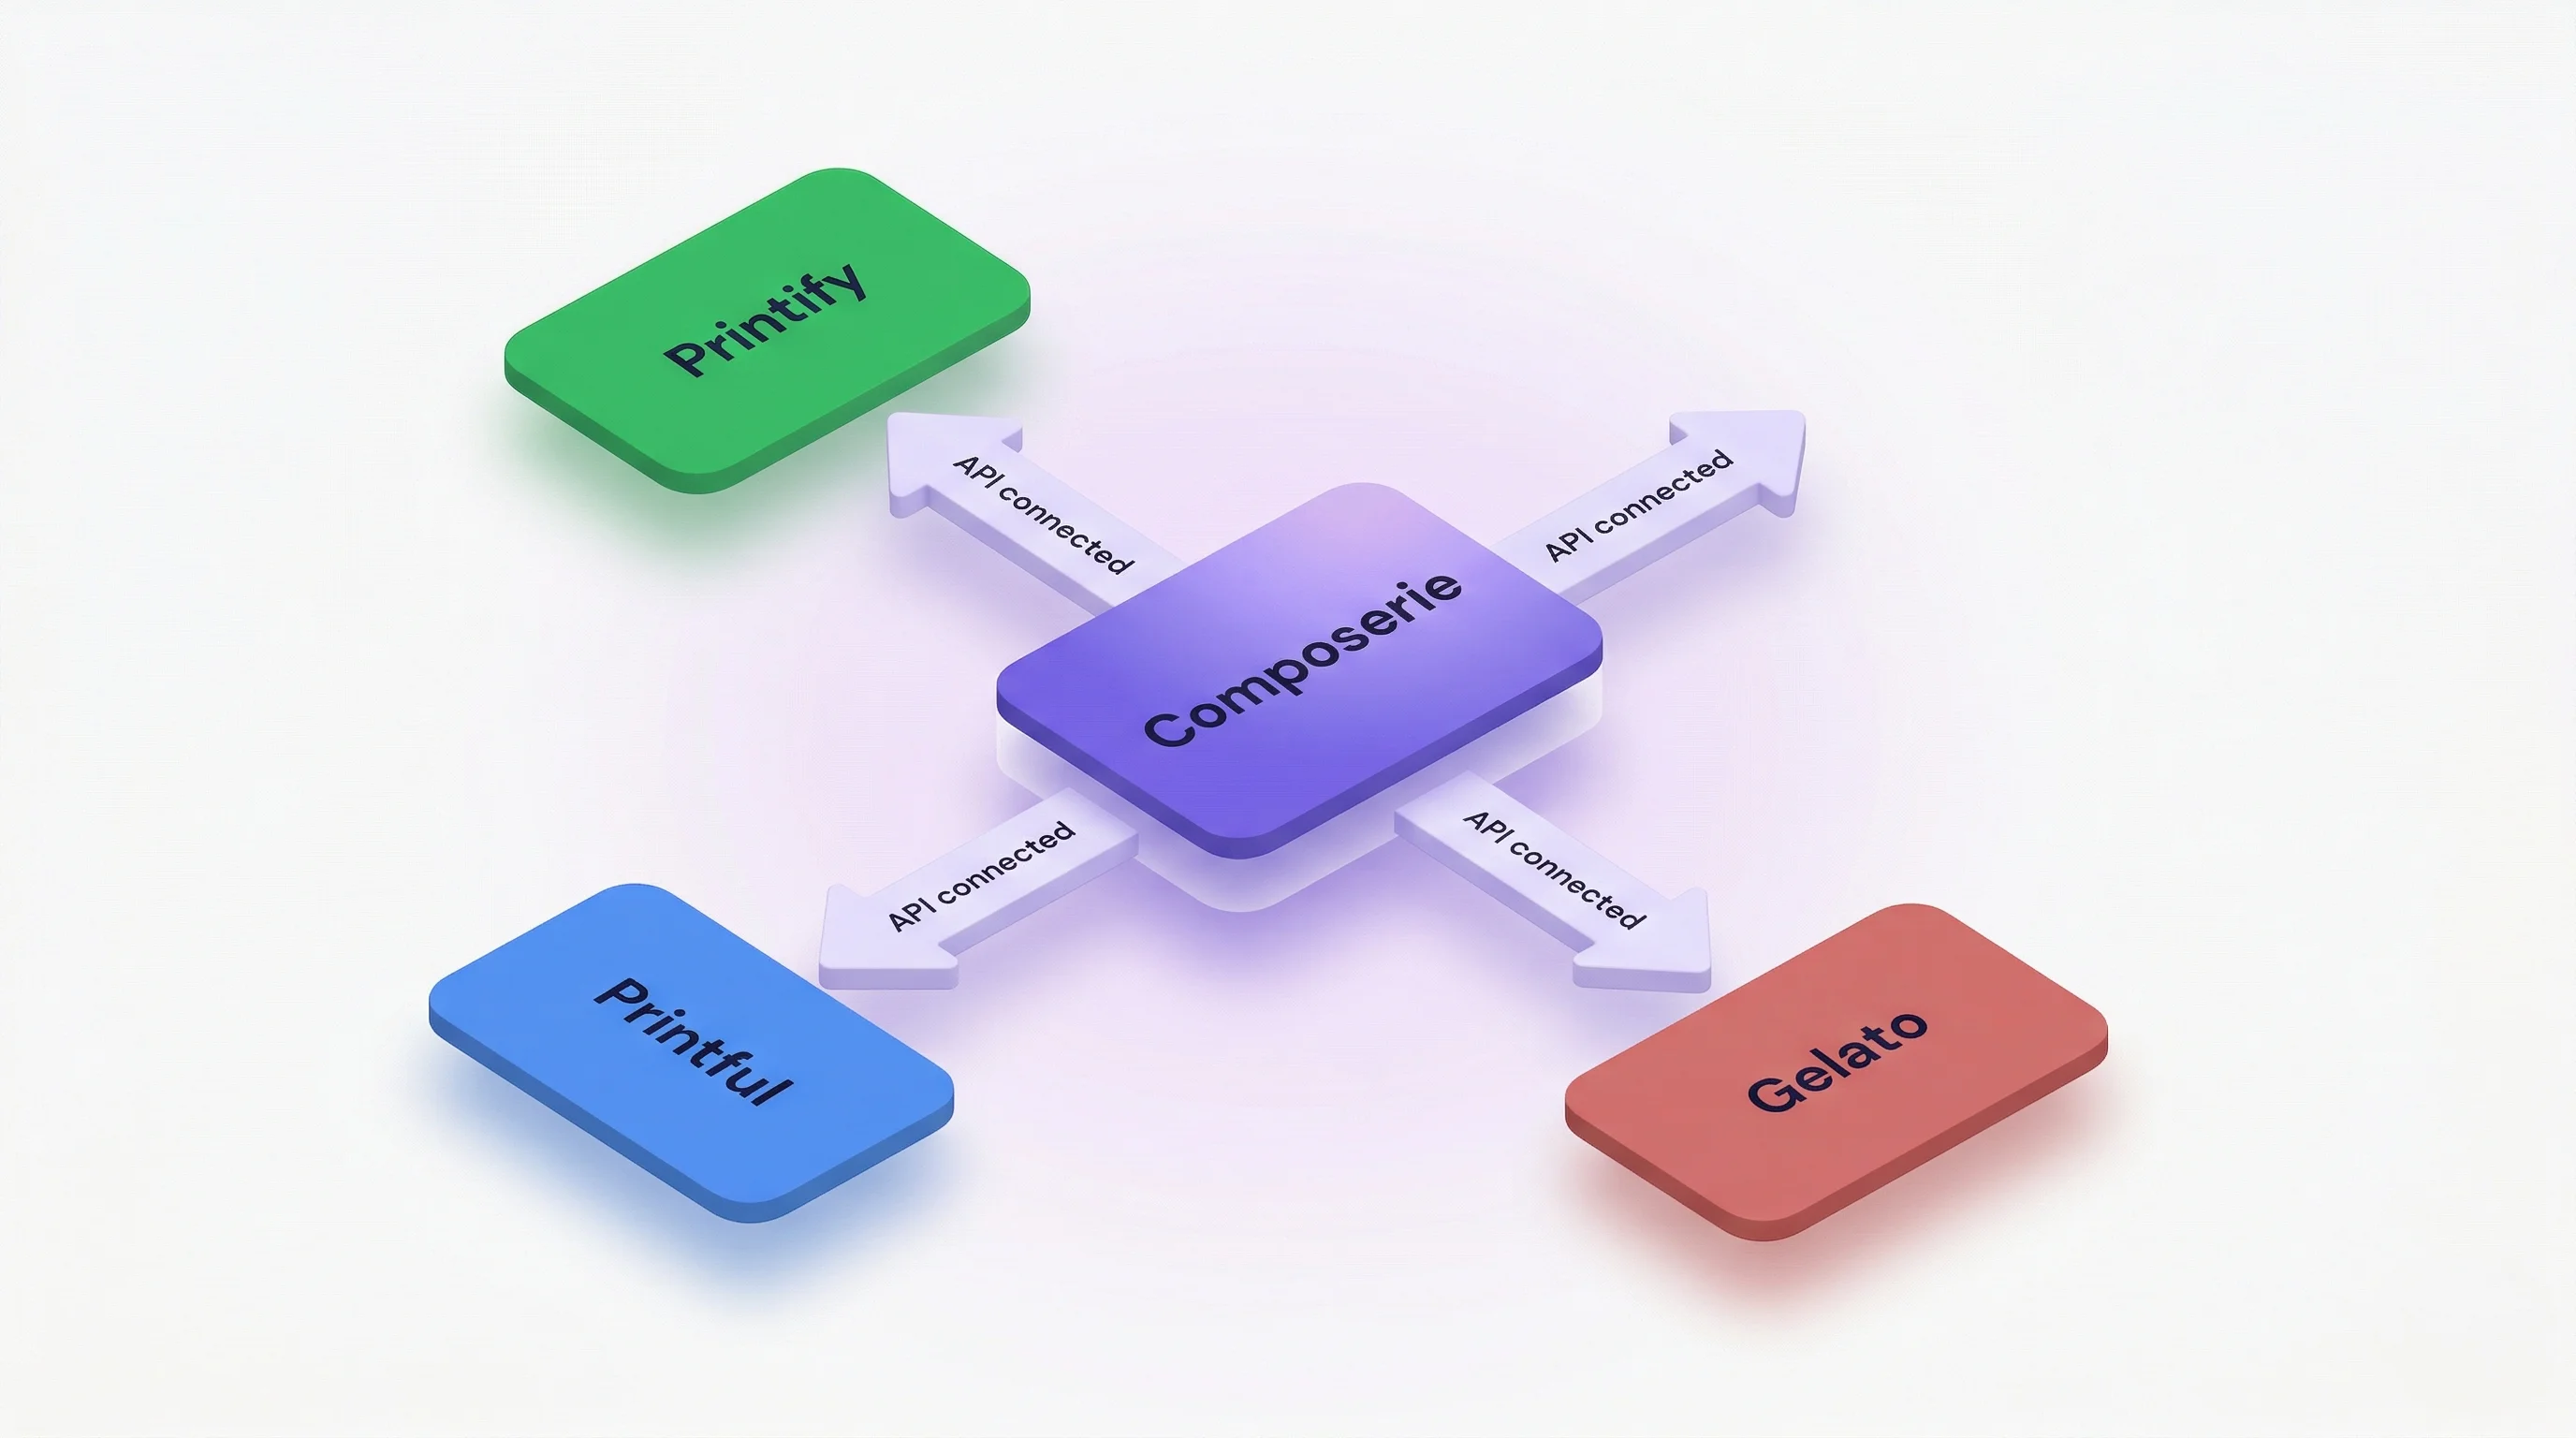
Composerie can expose supported provider connections to eligible accounts. The connections visible in your dashboard are the source of truth for what you can configure.
Each provider has its own catalog, pricing, print requirements, and shipping zones. If more than one supported provider is connected, product mappings determine which connection is associated with a product; verify that mapping before accepting orders.
Connecting a Provider in Composerie
Setting up a print provider takes just a few steps.
Step 1: Add Your Provider Credentials
Open the provider area in Composerie and select one of the connection methods available to your account. Enter the credentials requested by that provider. A connection should only be treated as ready after the dashboard reports a successful validation.
Step 2: Map Products
When a supported provider is connected and catalog access is available, select a base product and map it to the corresponding Shopify product. The mapping records which provider product and variant configuration the merchant intends to use.
During mapping, you configure:
- Print areas — Where on the product personalization appears (front, back, sleeve, etc.)
- Variants — Which sizes and colors are available
- Pricing rules — Your retail price relative to the provider’s wholesale cost
Step 3: Create Design Templates
Open the Design Studio for the mapped product and build the personalization template. Review the configured canvas dimensions, output resolution, and print areas against the provider’s current requirements before publishing.
Step 4: Test the Flow
Place a test order through your Shopify store and inspect the personalization data, preview, and any generated output. Test orders are for verification; confirm provider submission separately before enabling a live provider workflow.
The Order Flow: Customer to Delivery
Understanding the full order lifecycle helps you troubleshoot issues and set accurate expectations with customers.
1. Customer Personalizes the Product
The customer visits your Shopify product page and interacts with the Composerie customizer. They fill in personalization fields — typing their name, uploading a photo, selecting colors — and see a real-time preview of the finished product. When satisfied, they add the item to their cart.
2. Order Is Placed on Shopify
The customer checks out through Shopify as normal. Composerie stores the personalization data alongside the Shopify order, linking each line item to its specific customizations.
3. Print File Generation
When the configured render succeeds, output may appear; verify it before use. The merchant remains responsible for checking the result against the provider’s required format, color profile, bleed, and resolution.
4. Order Submission to Provider
Connect a print provider so eligible, mapped orders can be routed; then verify provider acceptance.
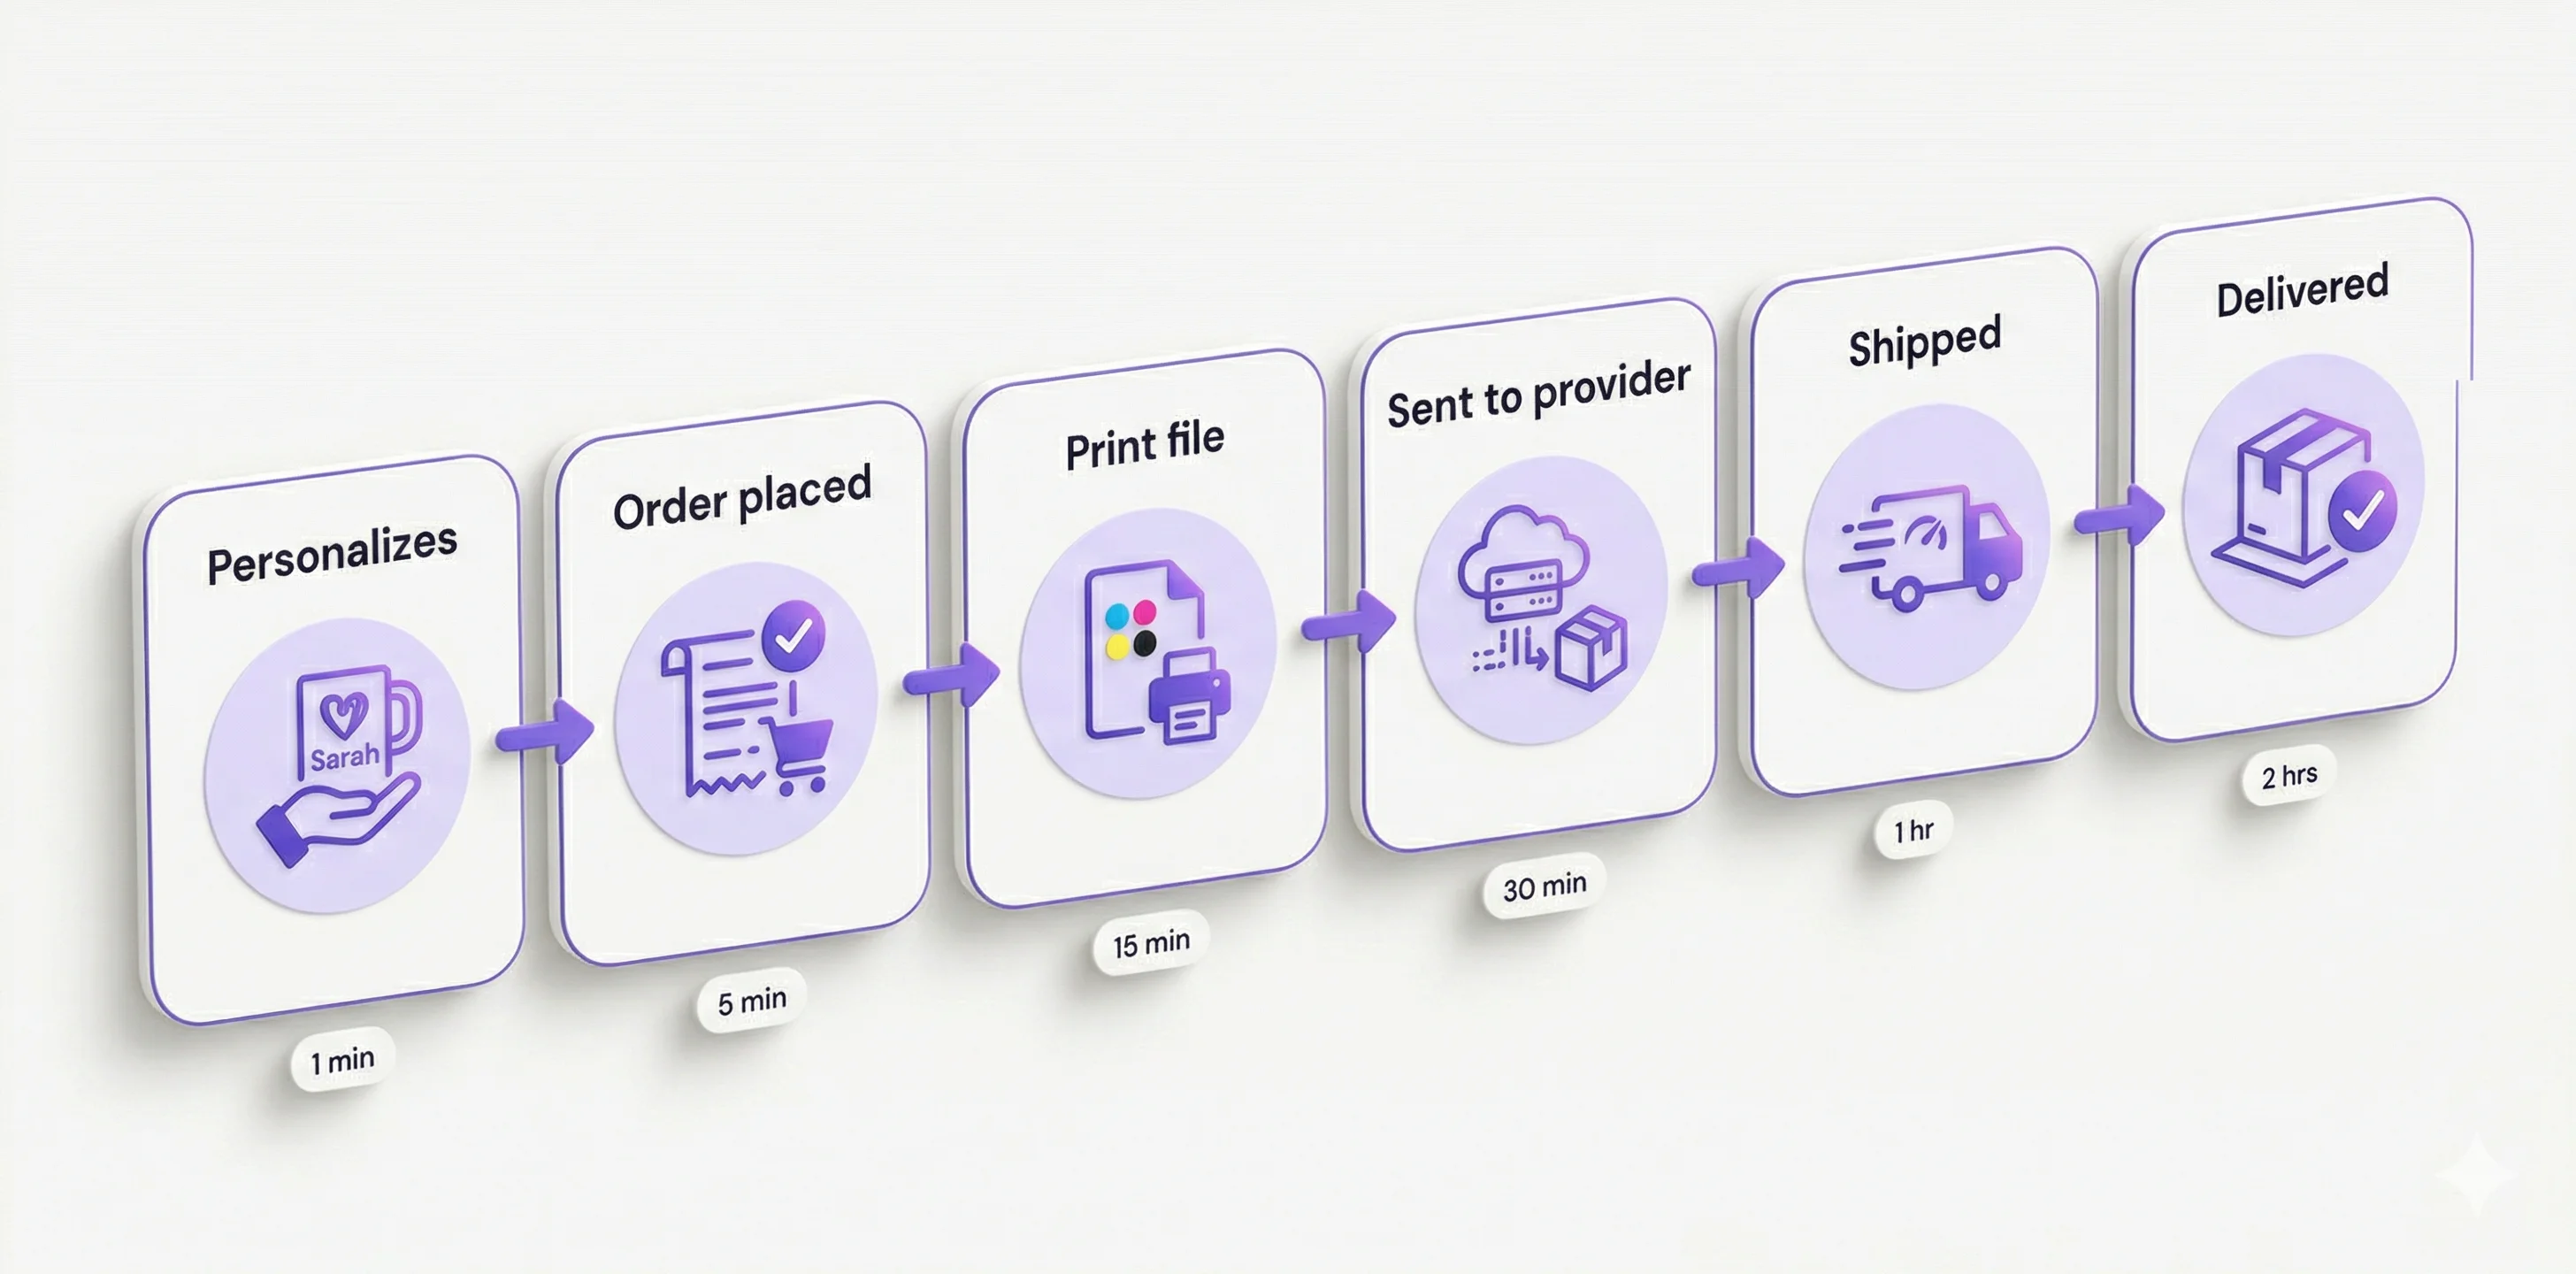
5. Production and Shipping
Production and shipping happen under the provider’s terms.
When a provider returns a supported tracking value, Composerie can store it for merchant review.
6. Completion
Delivery time depends on the provider, product, destination, and shipping method. Use the estimate shown by the provider rather than promising a fixed Composerie delivery window.
Managing Orders at Scale
As your volume grows, Composerie provides tools to keep operations running smoothly.
Order Dashboard
View all orders in one place, regardless of which provider fulfills them. Filter by status (pending, submitted, in production, shipped, delivered), search by customer or order number, and drill into any order to see the personalization details and generated print file.
Holding an Order for Review
For products where quality matters most, an order can be held before it reaches a provider. The hold gives you and your team a chance to look at the generated output first, and you release it once you are satisfied. If something is wrong, keep the hold on while you sort it out with the customer.
Error Handling
When a provider reports a rejected order — for example because of an unsupported file, unavailable variant, or shipping restriction — review the recorded error and provider dashboard before retrying. Continue monitoring the order until the provider confirms acceptance.
Pricing and Margins
Personalized POD products typically support healthy margins because customers perceive higher value. When setting prices, account for:
- Provider wholesale cost — The base price charged by your print provider
- Composerie platform cost — Your Composerie subscription
- Shopify fees — Transaction and payment processing fees
- Your markup — The margin that makes the business worthwhile
Set prices from your actual provider cost, Shopify charges, Composerie charges, taxes, support overhead, and target margin. Validate those inputs for each market and revisit them when a provider changes its rates.
Getting Started
Print-on-demand personalization combines storefront configuration with a provider production workflow. Composerie helps merchants configure personalization inputs, preview the result, and manage the product and order data used by supported connections.
Start free and connect your first print provider today.